Slowly but surely, SSDs replaced hard disks and are now the standard storage solution for computers, be it desktop or laptop, as HDDs once were. It’s hard to overlook the speed of an SSD which can revitalize and drastically improve the performance of a PC.
However, sometimes solid-state disks can exhibit weird behavior and malfunctioning, or in rare cases stop working altogether shortly after you bought it. And when things like these tend to happen, the first course of action is to check your SSD health to see if it’s working as intended.
You can do that with third-party software or a build-in app (macOS) if your operating system has one. Follow along to find out how to do that on a Mac (with the use of a build-in app) and a Windows (with the use of third-party software).
Checking SSD Health on Mac
For all Mac users, you can check the health of your SSD with within a matter of minutes by navigating to the “Disk Utility” app on your system. Here’s how:
- First thing you need to do is click the “Finder” icon on your Mac (blue and white face icon) in the lower left corner, where the windows icon would be on a Windows.
- Search your Apps and navigate to the Utilities folder.
- From here, navigate to the “Disk Utility” app.
- After navigating to Disk Utility, once you open the folder, you can see your internal and external disks listed on the left side.
- Enter the ‘Utilities’ folder. It is the blue folder with a key and a screwdriver.
- Select the disk that you want to run a health check diagnostics on, click the “First Aid” button on the “Disk Utility” window bar and Click “Run”.
- Wait until the health check is finished, click “Done” and that’s it.
Checking SSD Health on Windows
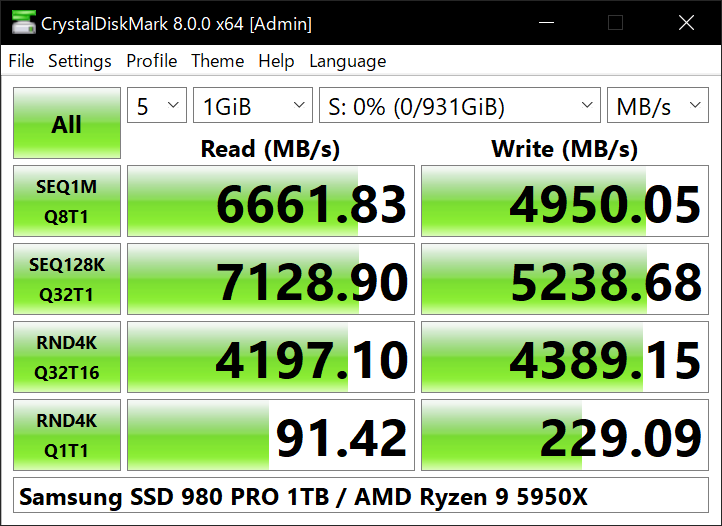
On the other side, although Windows lacks a decent build-in application that shows your SSD heath and performance status, you can always install third-party software, free or paid, and check your SSD.
Now, instead of listing dozens of software and making your choice harder by leaving you to pick which one you want to download, we recommend only one software. One of the most popular software for this kind of thing, which is Crystal Disk Info.
- First things first, you need to navigate to their official website and download the software.
- When the download finishes, head over to your download folder, and run the installation file that has .exe extension to install.
- Accept all license agreements and prex next on every prompt during the installation to install.
- After installation, run the software. You will immediatelly see detailed info for your current drives.
- Click on the configuration file, and if prompted by the program, allow it to make changes to your computer.
- Accept the license agreement, set the desired location to install the application, and press Next. Optionally, you can check the option ‘Create shortcut on desktop’ to find the program more easily.
- Select the drive you want to check for health and performance diagnostics and run software
However, if you don’t like using Crystal Disk Info, feel free to install any other third-party software to check your SSD health. Other popular software:
- Samsung Magician
- Intel SSD Toolbox
- Smartmontools
SSD Health Check FAQ
- Q: How do I check the health of my SSD?
- A: You can either use a free third-party software if you are a Windows user or use “Disk Utility” on Mac.
- Q: How do I know if my SSD is failing?
- A: You computer will become slow or won’t boot at all and some files won’t open. After you run a health check you will get a detailed information on your SSD’s status.
- Q: What to do if SSD is malfunctioning?
- A: First run a diagnostic check and then unplug the SSD from the slot and also remove the SATA cable and install it again to see if malfunctioning continues.
Conclusion
SSDs make your computer ultra fast and silent but they tend to malfunction sometimes. However, we hope this article helped you learn how to perform a quick health check on your SSD on both macOS and Windows with the use of a built-in feature and a popular free third-party app in just 7 simple steps. Follow technoish.com for more in-depth tutorials and advanced tutorials.

