Do you have a PlayStation 4 (PS4) controller around the house and fancy playing with it on your computer? You are in luck, as it is fully compatible with Windows 10 and Steam, whether you decide to connect it wirelessly or via cable. It can be done in different ways and is used to play on Steam and other applications, such as Epic Games, GOG, or Stadia.
Before continuing you have to take into consideration something: If you want to play using Bluetooth, your computer will have to either have a motherboard that supports Bluetooth, you have a desktop PC, or use a compatible USB adapter (also for desktop PC). Laptops have a Bluetooth connection so no worries there. To connect it with a cable, you’ll require at least a 2.0 USB port,
How to Set Up a PS4 Controller on Windows 10
In Windows 10 we can not ‘map’ buttons (assign each key to a button), but we do have a basic configuration. Actually, as soon as you connect your PS4 controller to the computer via USB cable it will already be recognized by the system, so you do not need any computer knowledge to perform this task.
In order to connect your PS4 controller to a Windows laptop or desktop PC, just follow these steps:
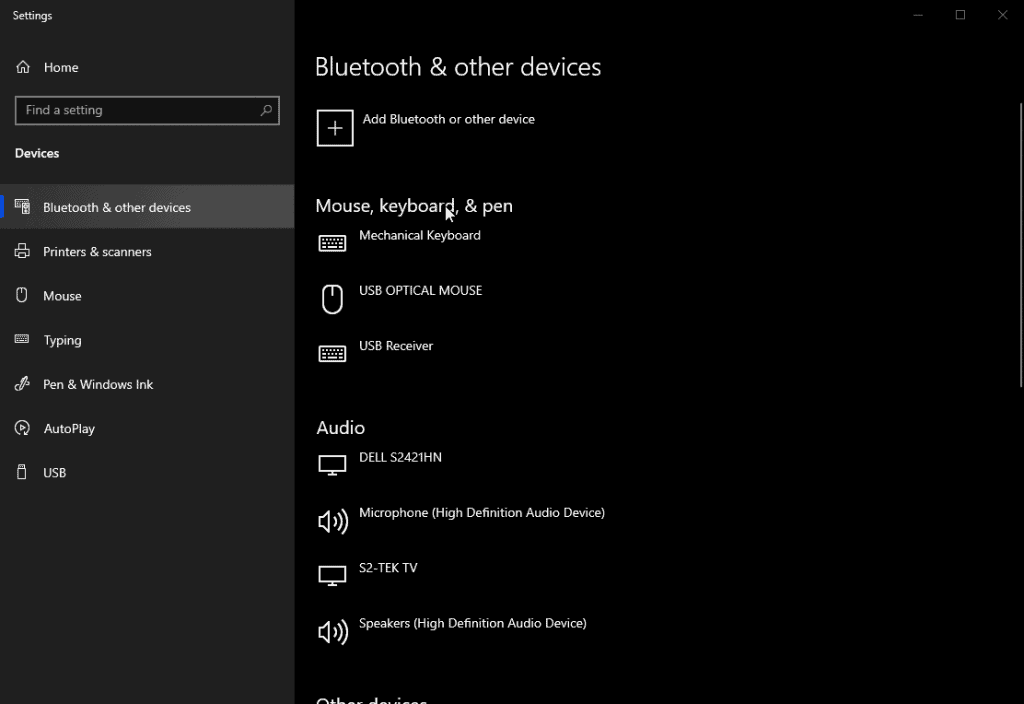
- Click Windows icon on the Start Menu and go to “Settings” and then open “Devices”.
- Click the toggle swich button under “Bluetooth and other devices” to turn Bluetooth on.
- Press and hold the PS and Share buttons on the gamepad simultaneously and wait for the light to start flashing.
- Clicking “Add Bluetooth or other device”
- Click “Add a device” and select your PS4 controller
- As long as the controller is turned on, Bluetooth enabled, and you did the synch method under step 3, the PC will recognize it
- Click “Done” to finish.
How to Use a PS4 Controller on Steam
Playing with the controller of our PS4 on Steam is really simple and even allows you to customize the lighting or choose different button profiles. To enable your PS4 controller on Steam, first turn it on and hold PS and Share button simultaneously follow these steps:
- Launch Steam app from your computer
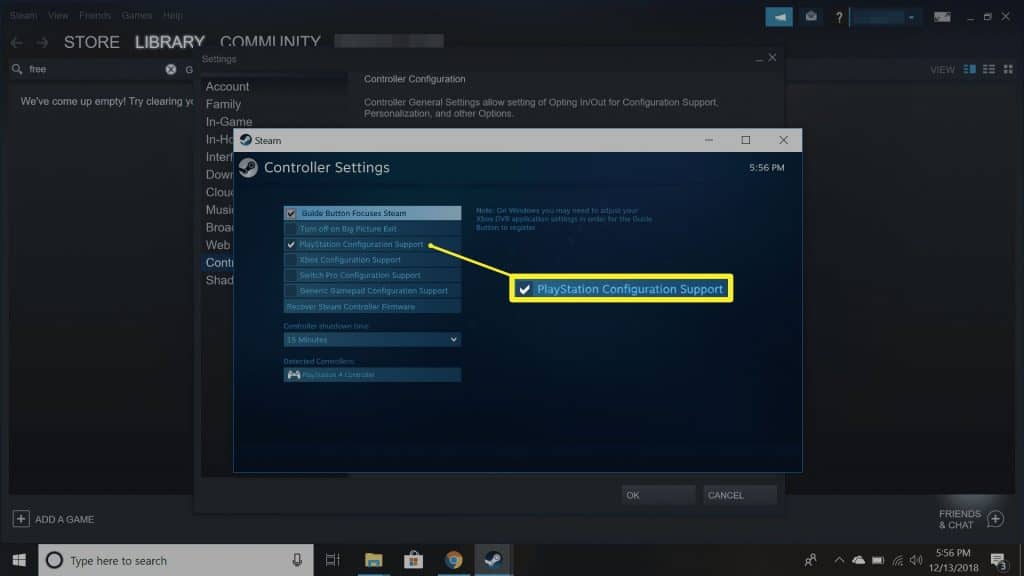
- Navigate to “View” top left menu and then to “Settings” in the drop-down menu
- After you opened the “Settings” window, navigate to the “Controller” tab
- Under the “Controller” tab, click the “General Controller Settings” button
- Feel free to edit anything in the newly opened “Personalize Your Controller” like vibration intensity or LED color
- Once you are done, just click “Submit”.
Step by Step Gudie for DS4Windows

If you plan on using the PS4 controller on your Windows PC or laptop, setting up the DS4Windows app will be inevitable if you want a smooth experience since Windows 10 doesn’t support plug and play for Playstation controllers like Xbox.
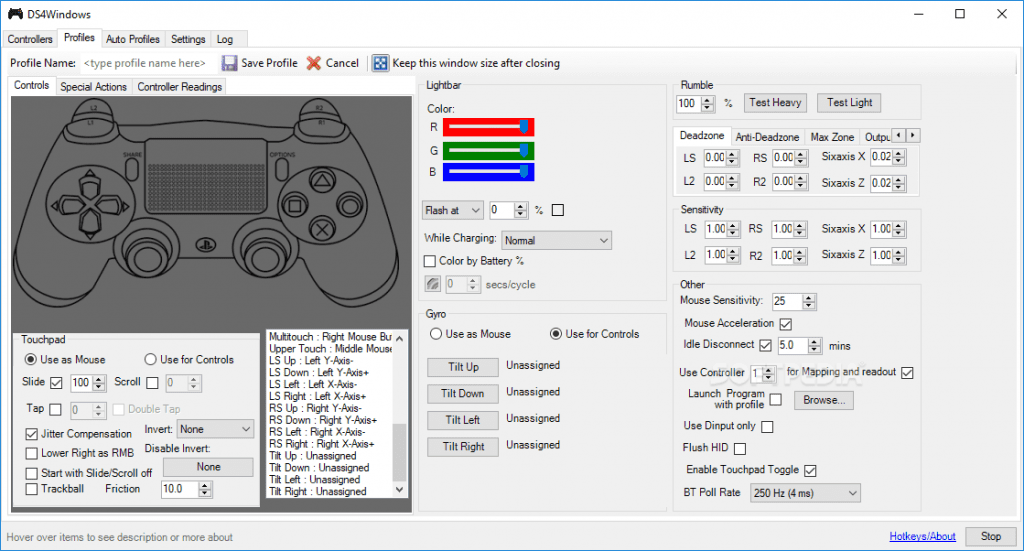
It allows you to set the dead zone of the joysticks, gyroscope intensity – for example, you can even use it as a mouse, button pressure, and sensitivity, and even program some functions that can prove quite useful if you play first-person shooter video games with a controller.
Finally, we’re going to set up our PS4 controller using this incredibly complete app, DS4Windows. We can, for example, measure the inertia of the joysticks in neutral, the speed and sensitivity in terms of button pressure, adjust the intensity of the gyroscope (also known as SiXaXis) and program some useful functions such as bursts of fire for first-person shooters. And best of all: it’s a very lightweight program.
- First of all you’ll need to download the latest version from the official GitHub page.
- Once downloaded unzip the package and open DS4Updater to install the tool to your PC
- Follow every propt on screen
- The tool will let you know once it’s done installing & boot up automatically
- On the newly opened Welcome to DS4Windows” click the button saying “Step1: Install the DS4 Driver”.
- Click “Finish” and you’re done.

